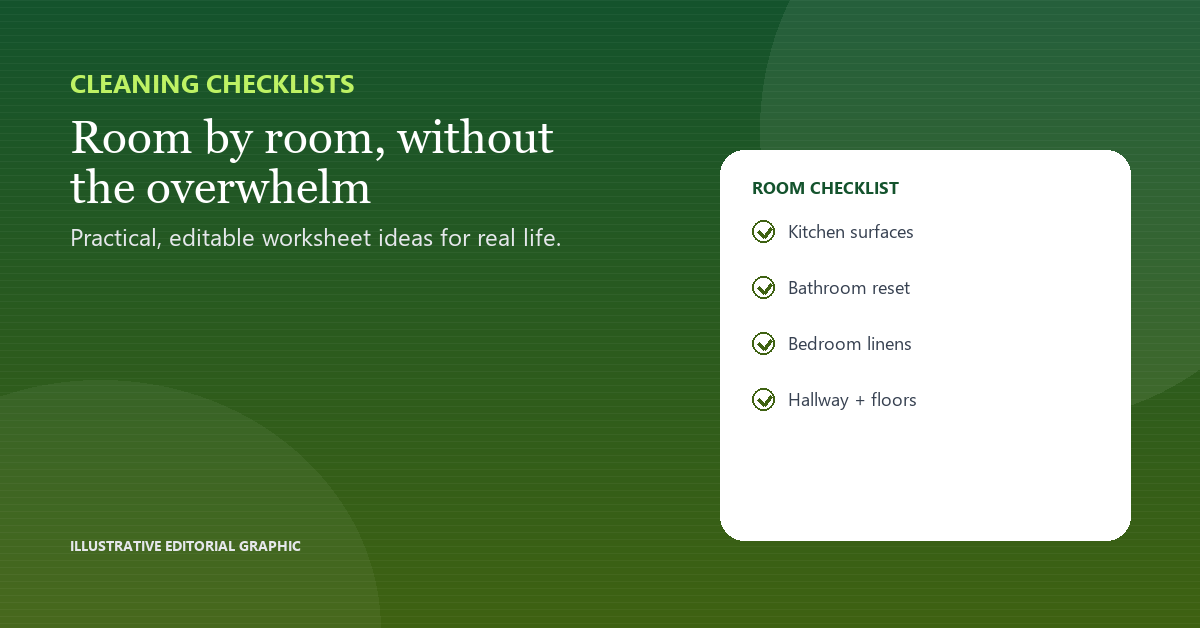
A room checklist is easier to use than a whole-house list because it has a clear start and finish. The goal is a reset, not a showroom.
Start with the room’s job
Write one sentence describing what the room needs to feel usable: clear surfaces, fresh linens or an empty floor. That sentence becomes the filter for every task.
Keep the list short
Choose the tasks that make the biggest visible difference and remove anything that belongs in a periodic deep clean. A list of six items is more likely to be finished than a list of twenty.
Set a frequency per task
Daily, weekly and monthly tasks should not share the same list without labels. A frequency turns a vague standard into a repeatable routine.
Put it where the work happens
A checklist in a drawer is a document; a checklist on the wall or in a shared note is a tool. Add the owner and the day.
Room checklist
| Item | Example |
|---|---|
| Room | Kitchen |
| Reset tasks | Surfaces, sink, floor |
| Frequency | Daily |
| Owner | Shared |
What to watch for
- Writing one list for the entire house.
- Including deep-clean tasks in a daily list.
- Leaving the list without an owner.
A useful next step
Test the list for one week. Remove one task that did not matter and keep the rest. A checklist that is slightly too short is more useful than one that is consistently abandoned. If the kitchen is the only room that gets used every day, give it a short daily reset and leave the other rooms on a weekly list. A room checklist does not need to treat every space equally. Keep the daily reset visible on the same card as the weekly room list.